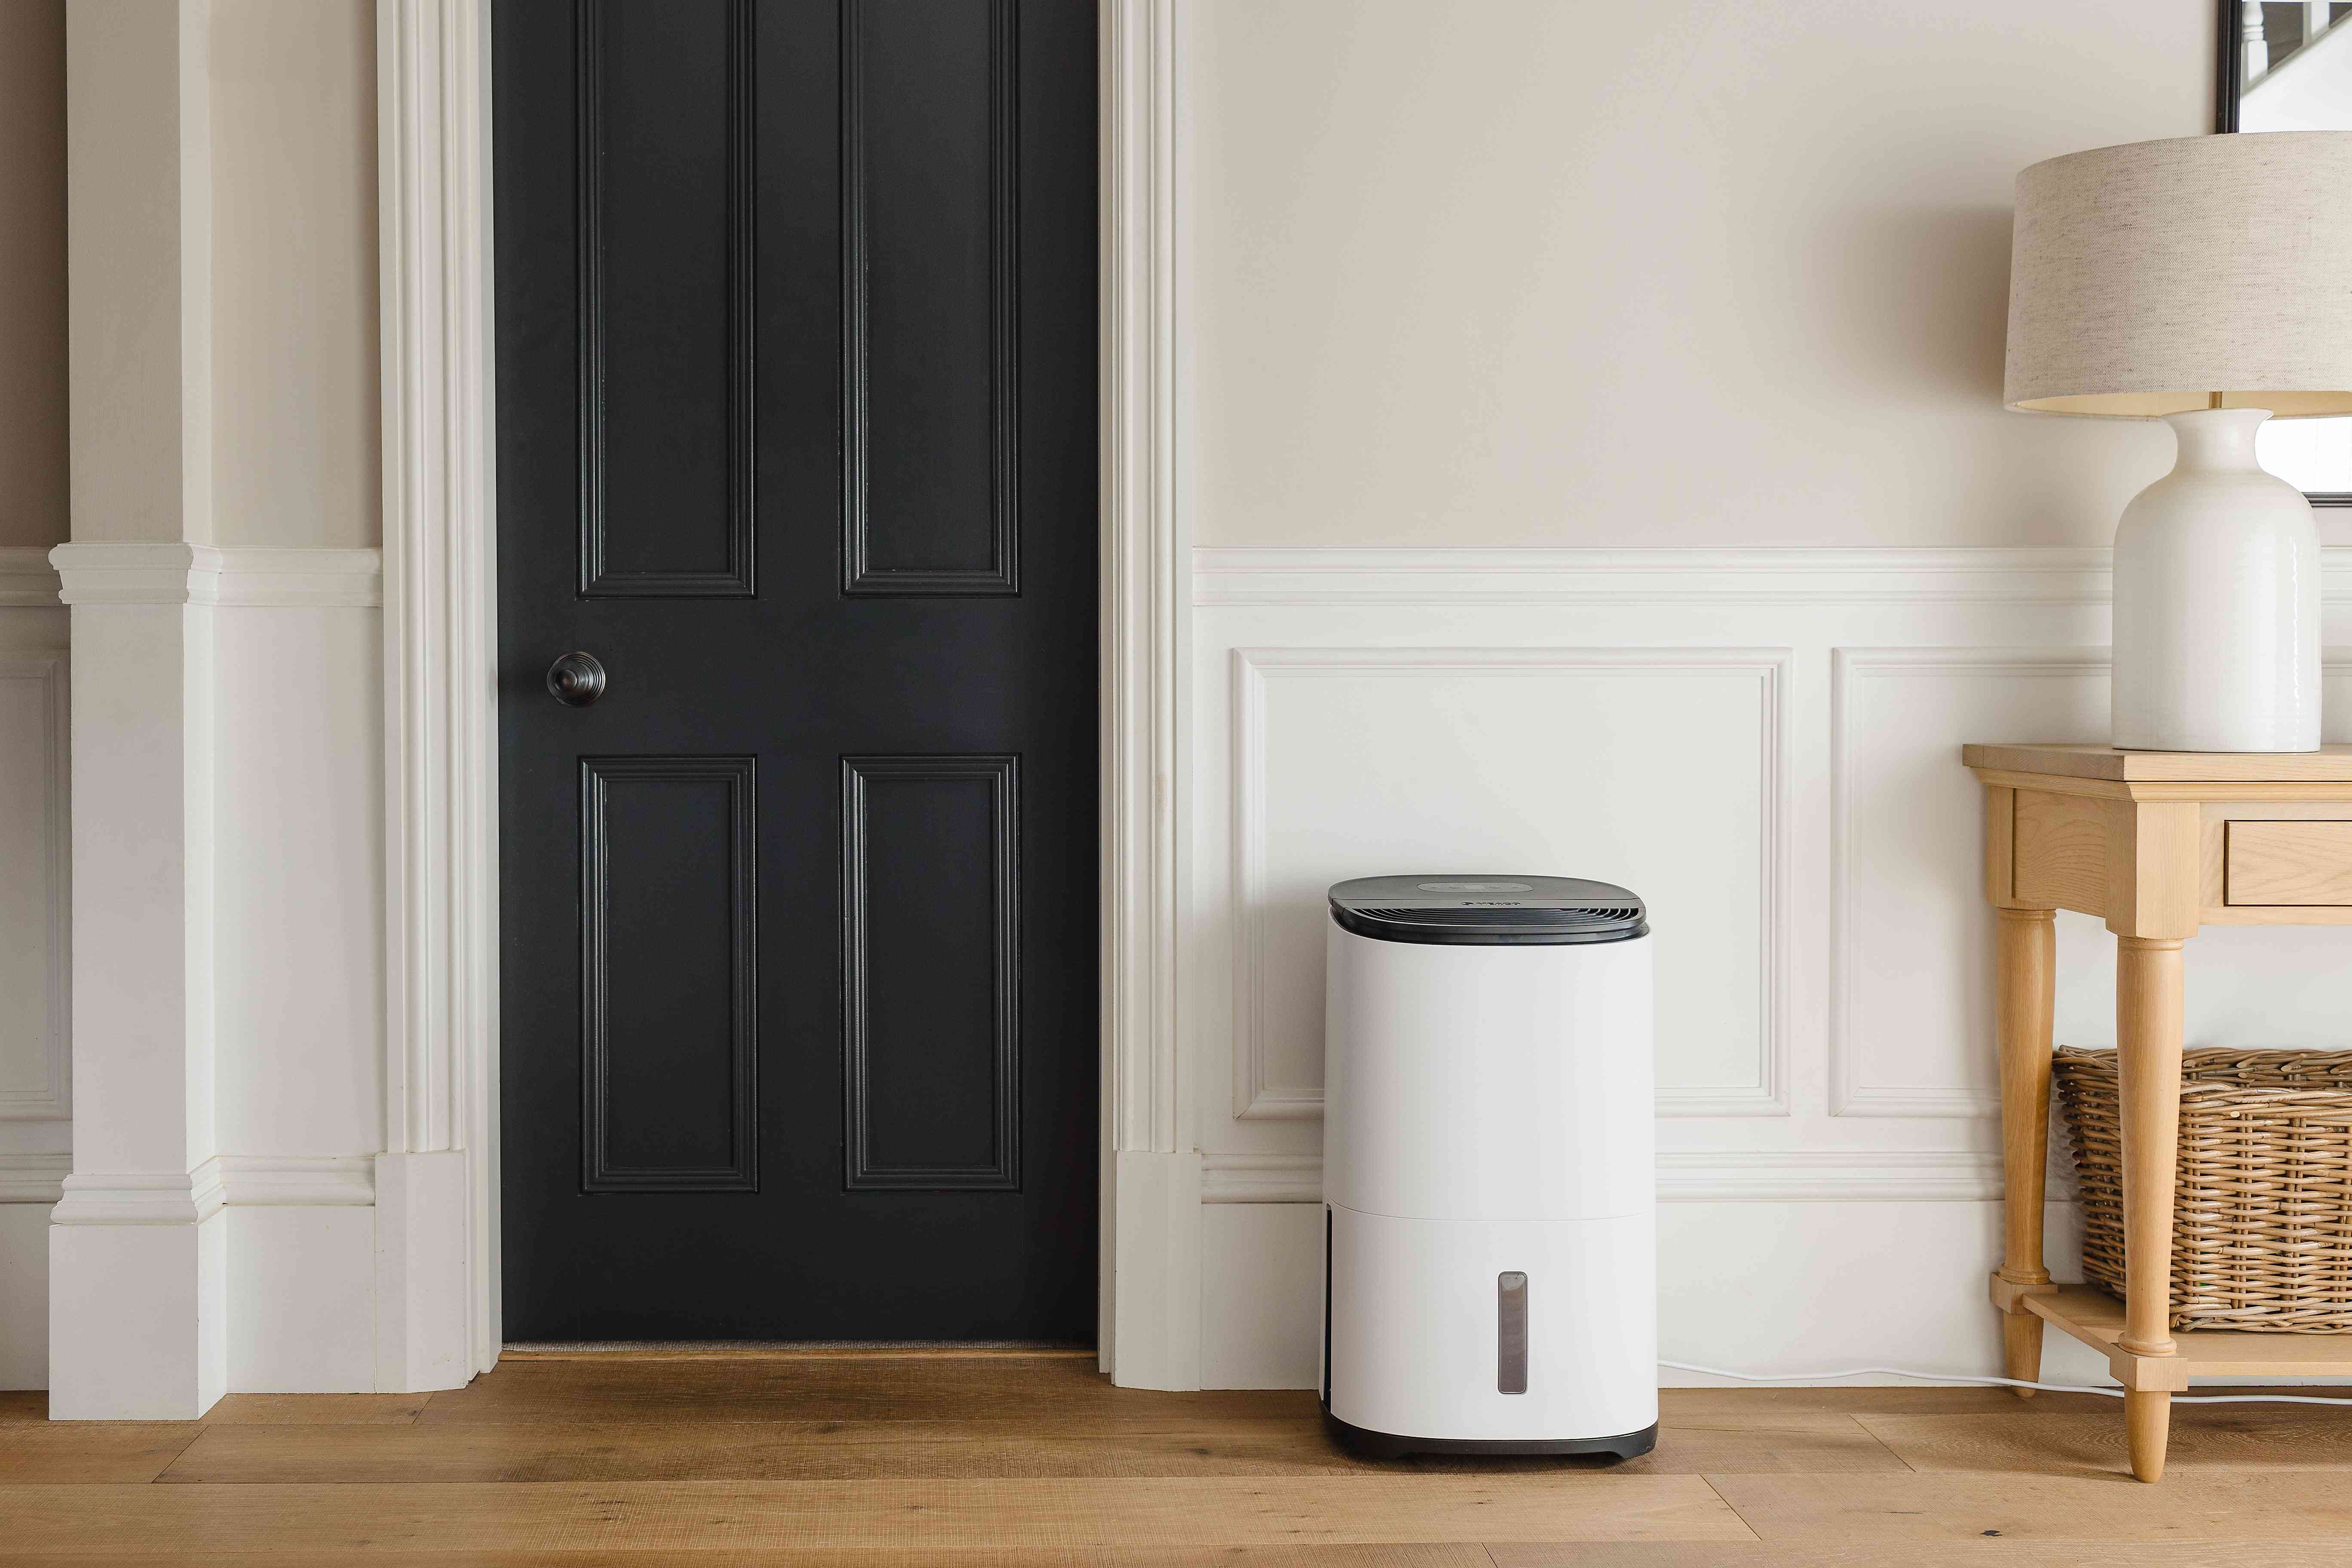
During the warmer months, dehumidifiers can be a gamechanger for improving air quality and comfort. This is especially true if you live in a humid climate, or if your space has poor ventilation. But when it’s time to declutter your home for fall, it’s easy to slide the appliance into storage and move on—though you might want to clean it first. Here, experts explain why it’s a good idea to deep clean your dehumidifier before stowing it away, along with tips for doing it correctly.
Forrest Webber is a professional cleaner and the founder of Bear Brothers Cleaning
Sergey Nikolin is an HVAC technician, electrician, and the president of Product Air Heating and Cooling
Why You Should Clean Your Dehumidifier
Before putting away your dehumidifier for the season, cleaning it might seem unnecessary. After all, you won’t be using it for a while, so why do you need to clean it?
“Think of it like giving your dehumidifier a well-deserved break after a season of hard work,” says Forrest Webber, professional cleaner. “Without a good clean, you’re inviting mold, mildew, and bacteria to throw a little party inside your machine.” So, if you don’t clean your dehumidifier now, you’ll be greeted with musty air the next time you switch it on. It’s also more convenient to clean a dehumidifier at the end of the season when you don’t need it versus when you actually do.
Sergey Nikolin, HVAC technician and electrician, agrees: “Taking the time to clean ensures your dehumidifier will operate smoothly and effectively when you need it, making your [next] seasonal transition much more pleasant.”
How to Clean a Dehumidifier
Step 1: Turn Off and Unplug Your Dehumidifier
Before cleaning your dehumidifier (or any appliance, for that matter), always turn it off and unplug it. This is crucial for safety and preventing electrical shocks, as you’ll be using water for the process. It also provides an opportunity to reset the unit, Nikolin says. “When it’s powered down, you’re not just preventing shocks or malfunctions; you’re also allowing the internal components to cool down, which can enhance your cleaning routine.”
Step 2: Take It Apart
After you’ve unplugged your dehumidifier, it’s time to remove the filter and tank. If you’re unsure how to do this, check the owner’s manual for instructions. You can also take a picture of the filter and tank before taking them out. “Most dehumidifiers have an easy-access filter, so it’s just a matter of sliding it out,” Webber says.
Keep in mind that disassembling and cleaning other parts (like the coils) can void your manufacturer’s warranty, so it’s best to contact a professional HVAC technician for the job.
Step 3: Clean the Filter
Start by gently vacuuming your filter with a brush attachment. “This method removes loose dirt without water, which can sometimes be more effective for fine particles,” Nikolin explains. Next, rinse the filter under lukewarm water. “If it’s filthy, a bit of mild soap will do the trick, but avoid anything too harsh,” Webber notes.
If your filter has more stubborn grime, sprinkle it with a light layer of baking soda before rinsing, Nikolin suggests. Another option is to use enzyme-based cleaners that are specifically designed for HVAC filters. “These can break down organic material like mold and dust more effectively than standard ingredients,” Nikolin says. After you’ve cleaned the filter, let it air-dry completely before replacing it.
Step 4: Clean the Tank
Before cleaning your dehumidifier’s tank, pour out any stale water. Fill it with several cups of fresh warm water and mild soap, then use a sponge or soft cloth to gently clean the interior. Pour out the soapy water and rinse the tank.
Next, prepare a solution of one part 3% hydrogen peroxide and two parts water. Fill the tank with this solution, let it sit for about 30 minutes to penetrate any stubborn stains or buildup, then swirl it around. The solution will clean and disinfect the tank without leaving strong odors, according to Nikolin. Finally, pour out the solution, rinse the tank, and let it air-dry before returning it to the unit.
Step 5: Clean the Fan Blades
Before cleaning the fan, check the blades for signs of damage, Nikolin says. If there are any chips or cracks, it might be time to replace it before moving forward. Otherwise, if the fan is in good shape, start by removing loose dust and debris with a vacuum and brush attachment. “For hard-to-reach spaces, use a can of compressed air to blow out dust and dirt,” Nikolin suggests.
From there, finish dusting off the fan blades with a brush or cloth. “If they’re grimy, use a damp cloth, but don’t get the motor wet,” Webber says. Be sure to let the blades dry completely.
Step 6: Clean the Exterior
Use a damp cloth and a bit of soap to wipe down the outside of your unit, “paying particular attention to vents where dust likes to collect,” Webber notes.
Afterward, “dry the surfaces with a microfiber cloth to prevent water spots,” Nikolin says. Once the dehumidifier’s exterior is dry, turn it on or store as needed.
How Often Should You Clean a Dehumidifier?
When it’s time to bring the dehumidifier back out, clean it every few weeks, Webber recommends. However, this doesn’t always need to involve the deep cleaning process explained above. Instead, you can simply “check the filter, give the tank a rinse, and dust off the exterior,” Webber says.
As for deep cleans? It’s best to do them every three months or after heavy use, Nikolin says. The exception is if you live in an area with high humidity or dust. In this case, “you might consider increasing the frequency of both quick and deep cleans to keep your air quality at its best,” Nikolin suggests.